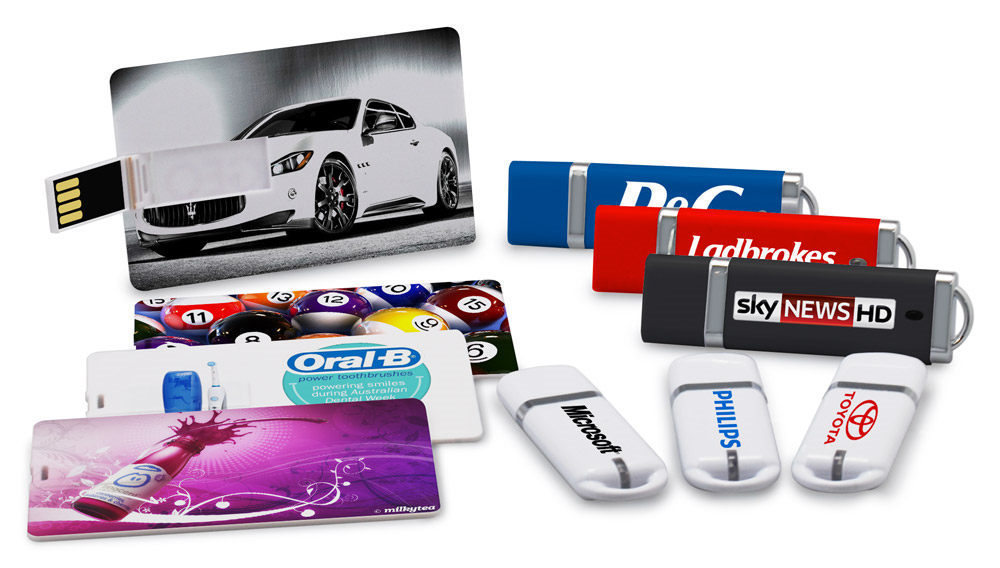
Re-formatting Promotional USB Memory Sticks
If you’ve been lucky enough to be given a promotional USB memory stick then there’s a strong likelihood that it will have lots of data already pre-loaded onto it by the company who’s giving them away. Typical files pre-loaded onto a promotional USB tend to include videos, copies of presentations, product data sheets, press releases etc. etc. Usually these files are not “locked” because to do this they’d have to be loaded onto the USB sticks during the manufacturing process so, they’ll just be normal copies of files that can be deleted.
If you want to remove these pre-loaded files so that you can use all of the available space for your own data (after you have fully read and absorbed the content put on the sticks of course – it’s only polite) then it’s pretty simple.
The best way to erase all of the files on a USB memory stick (including any hidden files) is to format the stick. At the end of the format process it will be completely clean of all data and you’ll then be able to create folders and sub-folders to transfer your own personal data back into it.
To format any USB Memory Stick just follow these simple steps:
Step 1 – Transfer any Data from the USB stick to your PC
We strongly recommend that you take a copy of the files on the promotional USB stick before you format it. Just drag and drop the contents from the stick to your PC (or Mac). Formatting your USB memory stick completely erases the memory stick so if you want any of your data then its critical you copy it first. Once you’ve started the format process there is no way back so please check any copies of the data before you start the process.
Step 2 – Formatting your USB Memory Stick on a PC
This is pretty straightforward but it does worry some people because if you get it wrong you can end up formatting the hard drive of your PC (Ouch!). To get started just “click” on the Windows “Start” icon in the bottom left hand corner of your PC and then click on “My Computer” (or “Computer” in Vista or Windows 7). Once done your PC will perform a quick scan and show you all of the drives (hard drives and external memory devices like USB Sticks) installed or connected to your PC.
You need to identify the drive that has a "Removable Disk" icon. – click on it to be absolutely sure it is your USB Memory Stick. Once you are sure right-click on the “Removable Disk” label. From here you will see a small drop down menu that includes the option to “Format” – click this.
At this point a dialog box will open giving you a couple of options; Leave the "Quick Format" option unchecked because this will make sure absolutely everything is deleted and deleted without errors. Click the "Start" button on the dialog and wait for your USB memory stick to be fully formatted.
Step 3 – Re-load your files
Once your USB Memory Stick has been formatted you’ll have a blank canvas to work with. Its recommended that you then create folders and sub-folders to copy your saved data back into to and that you then get into the habit of saving your data in a structured and organised way.
If you’re a Mac user you can still format your USB Memory Stick as follows:
Load up the "Disk Utility" program. You’ll find this in the “Utilities folder” which you access via the “Applications folder”. Your USB memory stick should be in the list showing a white drive icon. Click that icon and select the "Erase" tab on the main window to start the erase (format) process.

